
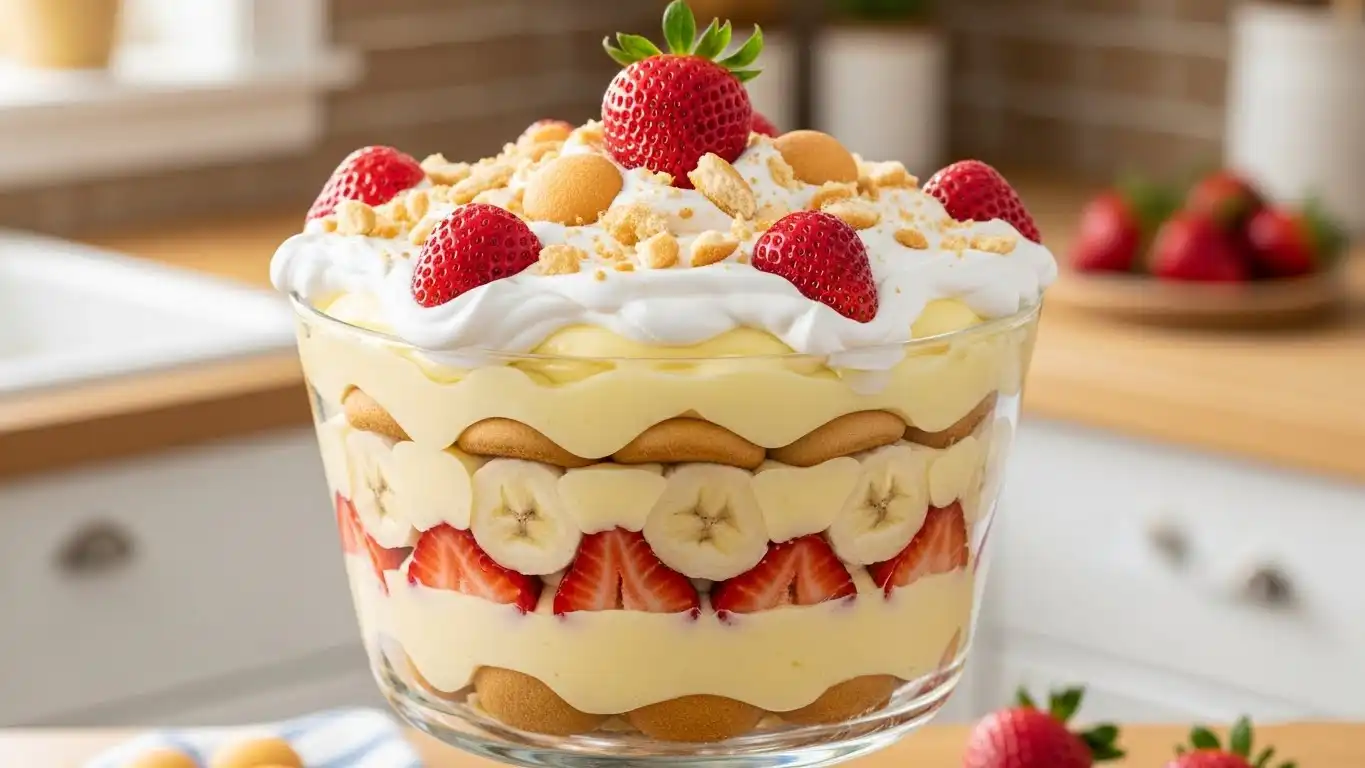
There’s something about Strawberry Banana Pudding Dream that always takes me back. When I was a kid, I used to help my grandmother layer pudding, bananas, and cookies in her big glass bowl. Her kitchen smelled like vanilla and love, and that memory sparked the passion that led to Irresistible Meals.
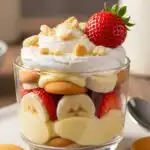
This no-bake dessert is my go-to for celebrations or when I want to share something nostalgic but stress-free. It blends vanilla pudding, ripe bananas, fresh strawberries, and soft whipped topping into layers that not only taste fantastic but look downright beautiful.
If you’re a fan of easy layered desserts, you’ll also enjoy my Easy Pistachio Pudding Desserts or these fun No-Bake Pumpkin Cheesecake Cups. Both are just as quick and party-perfect as today’s star recipe.
From my kitchen to yours, this Strawberry Banana Pudding Dream comes together fast and only gets better as it chills. So grab your glass dish, and let’s build something delicious.
Table of Contents
Why You’ll Love This Strawberry Banana Pudding Dream
- No Baking, No Stress: You’ll spend just 20 minutes assembling then let the fridge do the rest!
- Perfectly Balanced Sweetness: The cream cheese adds richness while fresh fruit keeps it light.
- Make-Ahead Magic: Chills beautifully overnight, making it a stress-free party dessert.
- Family Favorite: Loved by kids, adored by adults it’s the dessert that disappears first.
- Beautiful Layers: Strawberries, bananas, and vanilla wafers create a picture-perfect presentation every time.
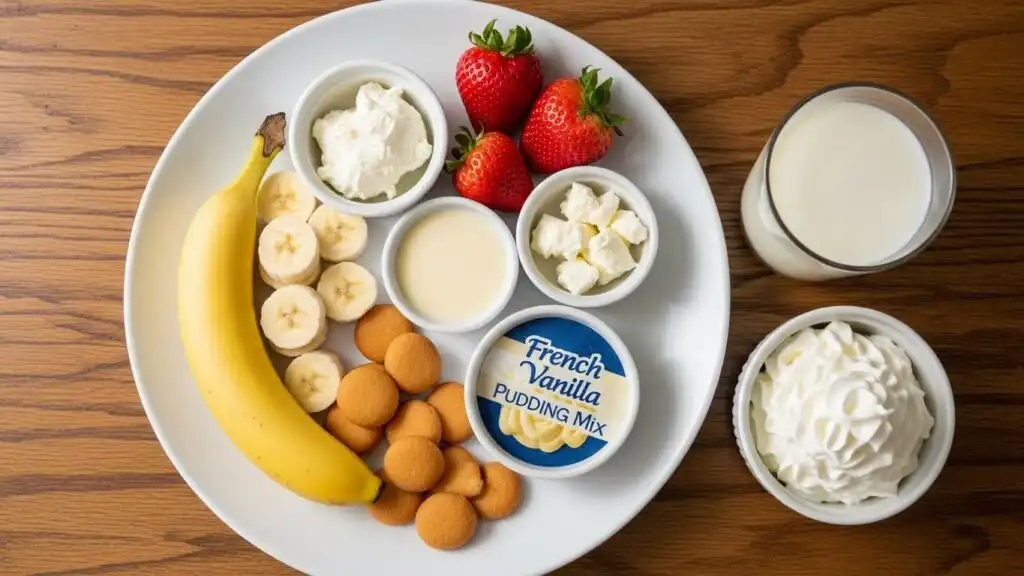
Ingredients for Strawberry Banana Pudding Dream
You’ll Need:
- 2 boxes vanilla wafers : these add structure and a little crunch.
- 6 to 8 ripe bananas, sliced : go for bananas with yellow peels and a few brown specks for natural sweetness.
- 2 cups milk : whole milk gives a rich, creamy consistency, but any milk works.
- 1 container fresh strawberries, sliced : the fresher, the better for flavor and color.
- 1 (5 oz) box French vanilla instant pudding : adds a smooth vanilla flavor.
- 1 (8 oz) package cream cheese, softened : gives the filling its luxurious texture.
- 1 (14 oz) can sweetened condensed milk : for that dreamy sweetness.
- 1 (12 oz) container whipped topping : cool, airy, and the perfect finishing touch.
Ingredient Notes & Substitutions
- Gluten-Free Option: Use gluten-free vanilla wafers or even ladyfingers for a similar texture.
- Dairy-Free Alternative: Swap the cream cheese for a vegan version and use coconut milk for the pudding base.
- Healthier Touch: Try reduced-fat cream cheese and light whipped topping to cut calories without losing flavor.
- Fruit Variations: Mix in blueberries or raspberries for a colorful twist.
- No Strawberries? Sliced peaches or mango make this dessert equally dreamy!
Step-by-Step Instructions
Step 1: Blend the Creamy Base
In a large mixing bowl, beat softened cream cheese and sweetened condensed milk together until smooth. This forms the luscious base of your pudding. Don’t rush this step the smoother your base, the silkier your dessert.
Step 2: Add the Pudding and Milk
Sprinkle in the French vanilla pudding mix and pour in milk. Stir (or mix) until the pudding thickens and everything is fully combined. You’re aiming for a velvety texture rich but pourable.
Step 3: Start the Layers
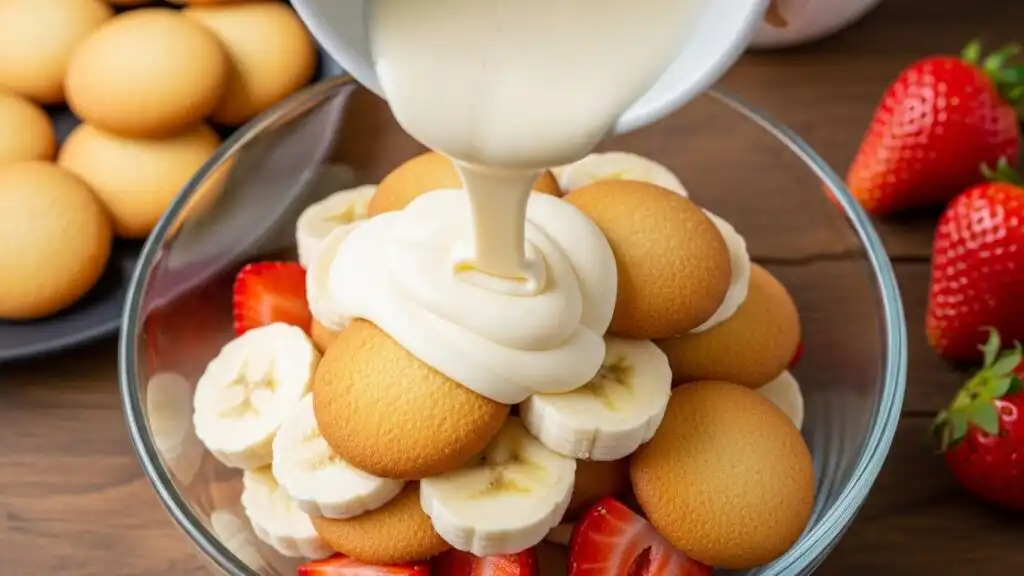
In a large glass or ceramic dish, arrange a layer of vanilla wafers at the bottom. Next, add a layer of sliced bananas followed by fresh strawberries. The contrast of colors is stunning this dessert already looks irresistible before it’s even finished!
Step 4: Add the Creamy Mixture
Pour half of the pudding mixture evenly over your fruit and wafer layers. Use a spatula to smooth it out. This is where the flavors start to mingle and turn into something magical.
Step 5: Repeat the Layers
Add another layer of vanilla wafers, bananas, and strawberries, then top with the remaining pudding mixture. The layers create that signature “dreamy” look when served.
Step 6: Finish with Whipped Topping
Spread the whipped topping generously over the top layer. Smooth it out for a neat finish, or use the back of a spoon to create soft waves and peaks.
Step 7: Chill and Serve
Cover the dish with plastic wrap and refrigerate for at least 4 hours (overnight is even better). This allows the wafers to soften slightly and all the flavors to blend beautifully.
Pro Tips for Success
- Use ripe bananas for a sweeter, creamier bite.
- Don’t skip the chilling time! It’s what transforms this dessert from tasty to divine.
- Layer in a glass dish the colorful layers are part of the charm.
- Make it ahead of time it’s even better the next day.
- Add a garnish of fresh mint or crushed wafers for a polished look.
- Slice gently use a long spatula to lift neat squares without losing the layers.
Flavor Variations
- Chocolate Lover’s Dream: Add a layer of chocolate pudding between the fruit for a rich twist.
- Nutty Delight: Sprinkle chopped pecans or walnuts between layers for a satisfying crunch.
- Berry Medley: Replace strawberries with a mix of blueberries, raspberries, and blackberries.
- Coconut Cream Twist: Add shredded coconut between layers for a tropical flair.
- Caramel Drizzle: Top with caramel sauce before serving for extra indulgence.
Serving Suggestions
- Serve chilled in a trifle dish for a stunning centerpiece.
- Pair with iced tea or lemonade for a refreshing contrast.
- Garnish with mint leaves or extra fruit slices before serving.
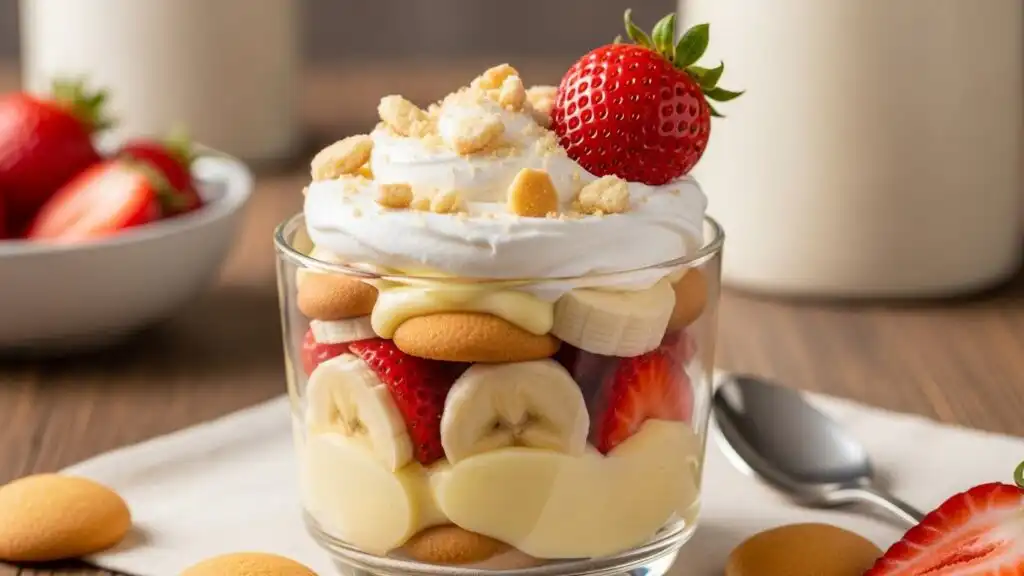
- For parties, make individual pudding cups they’re cute, easy to serve, and travel well.
- Great for Easter, Mother’s Day, BBQs, birthdays, or any occasion that deserves something sweet.
Storage and Freezing Instructions
- Refrigerate: Cover tightly with plastic wrap or a lid and keep in the fridge for up to 3 days.
- Freezing: Not recommended the fruit and pudding can separate after thawing.
- Make-Ahead Tip: Prepare up to 24 hours in advance for perfect texture and flavor.
Nutrition Facts (Per Serving)
| Calories | Protein | Carbs | Fat | Fiber | Sodium |
|---|---|---|---|---|---|
| 350 | 5g | 50g | 15g | 2g | 200mg |
Conclusion:
Whether you’re sharing this pudding at a family BBQ, layering it for a baby shower, or sneaking spoonfuls from the fridge at midnight (we’ve all done it), Strawberry Banana Pudding Dream hits every sweet note. It’s bright, fruity, creamy, and oh-so-satisfying.
This dessert brings comfort in every bite like a hug from your childhood. I’ve made this for church potlucks, last-minute dinner guests, and quiet weekends at home, and it never sticks around long. Each layer blends into the next, and the balance of strawberries, bananas, and pudding is just… dreamy.
Want more easy, crowd-pleasing recipes like this one? Come hang out with me on Facebook at Irresistible Meals by Chef Mike. I share new recipes, kitchen tips, and a behind-the-scenes look at what’s cooking.
Thanks for stopping by. Now go make this pudding your taste buds (and your guests) will thank you.
FAQ About Strawberry Banana Pudding Dream
Can I make this dessert ahead of time?
Absolutely! It’s even better the next day. Assemble it, cover tightly, and refrigerate overnight for the creamiest texture.
Can I use frozen strawberries?
Yes, but thaw and drain them well first. Frozen berries can release extra moisture, which might make the pudding a bit watery if not drained.
How long can I store leftovers?
Keep refrigerated and enjoy within 3 days. After that, the bananas begin to soften too much.
What can I substitute for cream cheese?
Greek yogurt or dairy-free cream cheese are excellent swaps. They’ll still give you that silky texture with a lighter feel.
Is this recipe gluten-free?
It can be! Simply use gluten-free vanilla wafers or ladyfingers, and everything else stays the same.
The Best Strawberry Banana Pudding Dream for Every Occasion
- Total Time: 4 hours (chill time included)
- Yield: 12 servings 1x
- Diet: Vegetarian
Description
There’s something special about the way Strawberry Banana Pudding Dream brings people together. With layers of vanilla wafers, fresh fruit, and a creamy pudding filling, it’s a nostalgic dessert with modern appeal. No baking needed just quick assembly and chill time. Whether you’re hosting a cookout or just need something sweet on a busy weeknight, this dreamy treat always hits the spot.
Ingredients
2 boxes vanilla wafers
6 to 8 ripe bananas, sliced
2 cups whole milk (or preferred milk)
1 container fresh strawberries, sliced
1 (5 oz) box French vanilla instant pudding
1 (8 oz) package cream cheese, softened
1 (14 oz) can sweetened condensed milk
1 (12 oz) container whipped topping
Instructions
1. In a large bowl, beat the softened cream cheese with sweetened condensed milk until completely smooth.
2. Add the instant pudding mix and milk. Whisk until thickened and velvety.
3. Layer vanilla wafers in the bottom of a trifle or 9×13 dish.
4. Top with a layer of sliced bananas and strawberries.
5. Spoon half of the pudding mixture over the fruit and wafers. Smooth evenly.
6. Repeat the layers: wafers, bananas, strawberries, and the remaining pudding.
7. Finish with a thick layer of whipped topping. Smooth or swirl with a spoon.
8. Cover and refrigerate at least 4 hours or overnight.
9. Slice gently and serve chilled.
Notes
Use bananas with brown speckles for natural sweetness.
Chill overnight for best flavor and texture.
Layer in a glass dish for a beautiful presentation.
Swap in other berries or fruits like peaches or mango if strawberries aren’t available.
Make individual servings in cups for easy party portions.
- Prep Time: 20 minutes
- Cook Time: 0 minutes
- Category: Dessert
- Method: No-Bake
- Cuisine: American
Nutrition
- Serving Size: 1 slice
- Calories: 350
- Sugar: 28g
- Sodium: 200mg
- Fat: 15g
- Saturated Fat: 9g
- Unsaturated Fat: 5g
- Trans Fat: 0g
- Carbohydrates: 50g
- Fiber: 2g
- Protein: 5g
- Cholesterol: 30mg